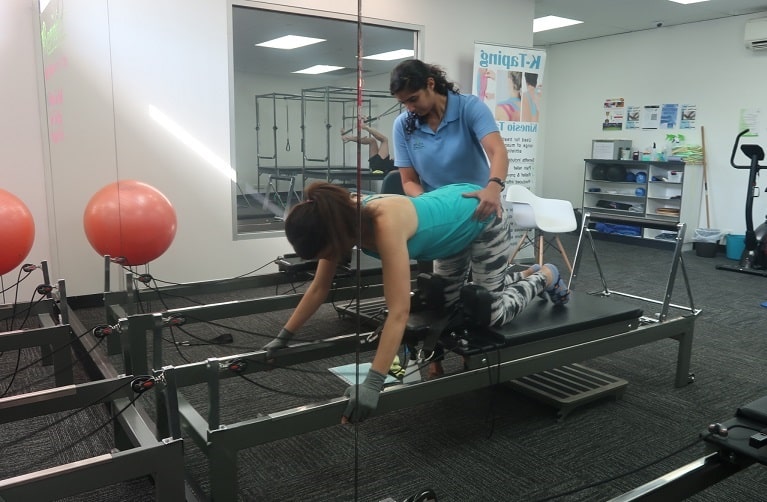
Core stability exercises are still a potent way of beginning a muscular training program that focuses on controlling the spine. To find out more about the background to why and how core stability works see our previous blogs.
How Does Core Stabilising Exercise Work?
Core stability training follows a series of stages that allow you to build up an activation pattern of your trunk muscles that will support your body as it moves. Doing only one part of this program might help to stabilise a low back complaint, but may leave the body susceptible to an injury whilst they are moving. Making sure that you follow through into training the stabilisers in functional dynamic movement is essential to achieving this final goal of great core control while moving the trunk and limbs in functional movements.
Stage 1: Activate your core muscles & control your spine in neutral.
To get an absolute understanding of how the deep trunk muscles work, Physios often use a real time ultrasound assessment to retrain basic muscle activation whilst we’re still and breathing normally. To find out more about this see our blog about Real-Time UltraSound
Whilst this is a great foundation for core stability it’s not very functional and we need to progress to the next step of being able to activate our core muscles while moving our limbs and maintaining a neutral spine position.
Common exercises in order of their difficulty to control include:
1) Bent Knee Drop Out
Keeping your core muscles engaged and your spine and pelvis in a neutral position, breathe OUT as you let one knee fall out to the side, breath IN to return the leg to the middle position, breathe OUT to take the other knee out to the side. Continue to alternate the legs keeping the deep abdominal muscles activated and the pelvis and trunk in a neutral position.
2) Single Leg Slide
Keeping your core muscles engaged and your spine and pelvis in a neutral position, breathe OUT as you slide your leg away and breath IN as it returns to the starting position. Then breathe OUT as you slide the other leg away and breathe IN as it returns. Make sure that as you change from one leg to the next that you control against the pelvis and spine rotating.
3) Single Leg Lift
Keeping your core muscles engaged and your spine and pelvis in a neutral position, breathe IN as you lift one leg until your knee points to the ceiling, breathe OUT to slowly return it to the ground then breathe IN as your lift the OTHER leg keep alternating between legs making sure to keep your deep core muscles engaged and your pelvis and spine in neutral.
4) Heel Taps
Breath IN to bring your bent knee up until it points to the ceiling, then breathe OUT to lower the leg until your heel JUST touches the ground, breathe IN to lift the leg back up and then breathe OUT to finally bring the leg to rest on the ground. Alternate to the other side.
5) Single Leg Lift & Extend
Breath IN as you lift the bent leg until the knee points to the ceiling, breath OUT as you extend the leg away as far as you can with control of your pelvis and trunk IN the neutral position, breathe IN to return it to the knee pointing to the ceiling, breathe OUT to return it to the ground. Alternate by doing the same on the other side.
6) Double Leg Lifts
Breathe IN to lift the leg till the knee points to the ceiling, Breathe OUT to bring the other leg up to meet it. Breathe IN to bring the first leg down to rest on the mat, breathe OUT to bring the other leg down on the mat, repeat the same starting with the other leg.
To get the ultimate feedback on your form and muscle activation see your Physiotherapist to guide you through these exercises. To make a booking with one of our Physios press the button that’s below.
This blog post was written by Nick Lagos.